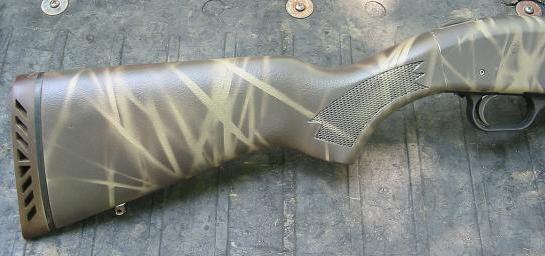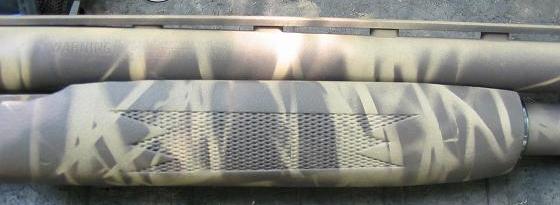
Hopefully this page will help you guys with some questions that I had. I did many searches on how to paint a shotgun and have the paint last without much luck. Below are step-by-step instructions on painting a camo pattern on a shotgun with a wooden stock.
There are 3 main parts to camoing a gun. The biggest tip I can give is take your time on the prep!
On we go...
Step 1: Disassembly

I started this project with a rusty old Mossberg 835 that I had bought 5 years ago as a gun I could hunt hard without worry of ruining the finish. I have treated the gun like the boat paddle it is and it has been through the ringer. It has been put up wet, not cleaned all season and banged into the boat more times then I can count. It was rough looking to say the least.
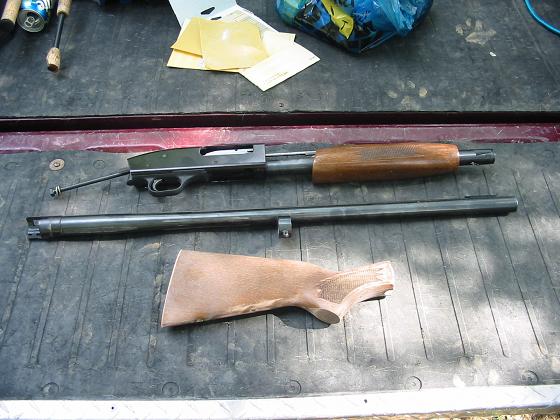
I started by removing all parts (barrel, butt, magazine, etc.) including the action. I had read on another gun painting site that the paint did not affect the action, but did not want to run the chance of it causing problems after I reassembled it. After finishing the disassembly it is time to move onto step 2.
Step 2: Prepping
The first step in prepping the gun for paint is to remove all varnish, oil and rust from the surfaces of the gun. Below is a list of things you will need to prep the gun correctly.
1) Sandpaper - Nothing more aggressive than 100 grit. Anything larger will remove the checkering and other fine details.
2) Acetone - Rubbing alcohol will also work. The acetone just so happened to be on the shelf right underneath the sandpaper.
3) Steel Wool
4) Paper Towels - You will need a bunch.
5) Duct Tape - Masking tape or painter's tape will also work.
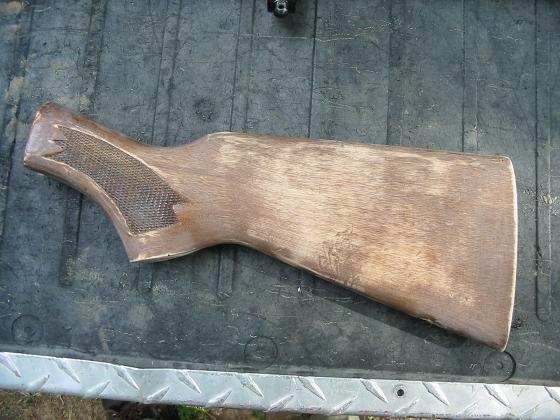
Take the sandpaper and remove all of the varnish from the wood. Removing the stain is not important as the paint will adhere to the wood just fine with the stain still on it.
Next, take a piece of steel wool and remove the rust as best you can. Removing all of the rust now will save you a lot of repainting down the road when it starts eating through. I also went back over all of the metal parts with the sandpaper to scuff it up some. I'm not absolutely sure if this did anything, but I felt that it may have helped some.
After everything is scuffed and sanded take your tape and tape off all of the parts of your gun that you don't want paint on such as threads or parts that fit inside the gun. You can see in some of the pictures below what I had taped off. Here's a tip... Before or as you are taping off the pieces use a piece of string so that you can hang them while painting. The painting will go much faster when you don't have to wait for the paint to dry before you can flip the piece over and paint the other side.
Now that everything has been taped off it's time to pull out the acetone or rubbing alcohol and the paper towels. Put some acetone on the towels and wipe the metal and wood down. Be careful not to touch the surfaces after you have cleaned them. You may want to buy some latex gloves to make this easier. Any oil from your hands that gets on the surfaces will cause the paint to flake off later.
Below are pictures of the different parts in various stages of sanding and cleaning.
Step 3: Painting
Now you're ready to paint. The paint I used was Rust-Oleum ultra flat camo paint (khaki, brown and OD green) that I picked up at Home Depot. I hung the pieces up by the string I mentioned above and put a couple coats of the khaki paint on. The flat paint dries to the touch in 20 min. or so.
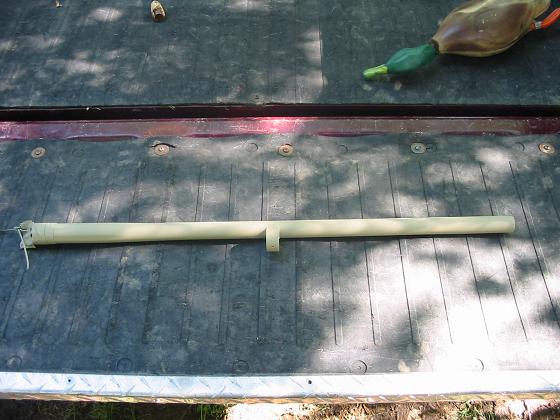

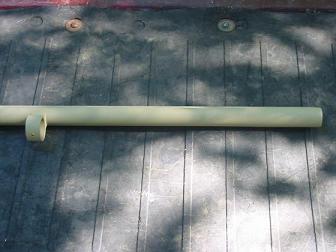
After the khaki paint has dried it is time to put on the brown. For this part of the process you will not be able to hang the pieces. I
laid the pieces on some newspaper on the ground. I then went and picked a few handfuls of broad-bladed grass. I laid the grass on the pieces and started spraying the brown over it. Let it sit for about 15 min. and then you can remove the grass.
This is what the pieces looked like after I finished the step above...


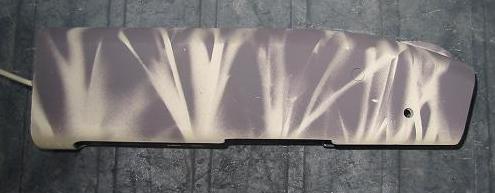

Now that all pieces have been painted with the camo pattern I hung them back up again. The khaki was too bright for me so I decided to mist all of the parts with the OD green paint. I stood back about 24" and shot a very light film on top of the paint. After that had dried I put 2 coats of satin clear coat on.
For the wood pieces I used a can of Dupli-Color do-it-yourself truck bed liner in a spray can. I put 2 coats of the Dupli-Color on. Below are some pictures of the finished pieces.
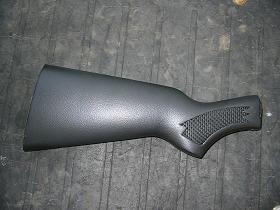
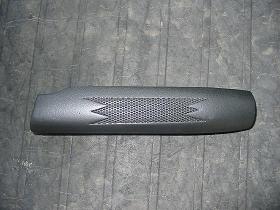

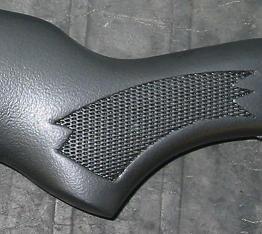
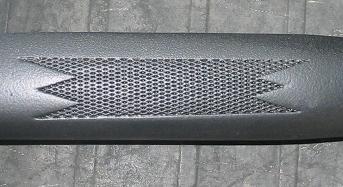
Here are all of the pieces painted and lined.
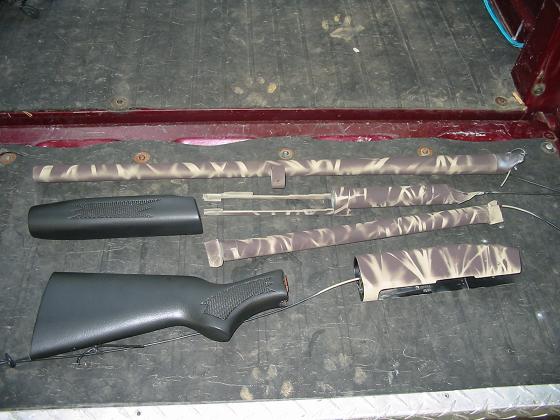
I had originally decided to leave the wood black, but after looking at the gun put together I decided it would look better if I painted the entire thing. I went through the same steps to paint the bed liner as is listed above except I did not use acetone. The actone would have most likely eaten the bed liner off.
The Finished
Gun

